Installing shower room hardware is less forgiving than it looks: small errors in alignment, anchoring, or sealing can lead to glass stress, water leaks, premature wear, and expensive callbacks. This guide highlights the most common installation mistakes seen with hinges, brackets, handles, and support components, with attention to the structural and moisture risks they create. You’ll learn where installers most often go wrong, why those issues matter in frameless and semi-frameless systems, and what practical checks help prevent failure. With that context in place, the rest of the article walks through the key problem areas and the steps that reduce risk on site.
Why a Shower Room Hardware Installation Guide Matters
Shower room hardware installation represents a critical phase in both commercial and high-end residential construction. While specifiers often focus on the aesthetic qualities of hinges, brackets, and handles, the structural integrity of a frameless or semi-frameless enclosure relies entirely on precise execution. Industry data indicates that approximately 70% of frameless shower enclosure failures stem from installation errors rather than manufacturing defects. A comprehensive installation guide serves as the baseline for risk mitigation, ensuring that contractors adhere to stringent tolerances and material specifications.
Risks of installation errors
The immediate risks associated with improper hardware installation extend far beyond cosmetic misalignment. When mounting hardware is not properly secured, the structural load of heavy tempered glass is transferred unevenly. Tempered safety glass is engineered to withstand significant blunt force but is highly vulnerable to point stress; localized pressure exceeding 10,000 psi at a hinge cutout or edge can cause spontaneous shattering.
Furthermore, inadequate sealing and structural misalignment inevitably lead to water egress. Over time, micro-leaks result in severe moisture damage to adjacent drywall, subflooring, and structural framing. Beyond physical damage, these installation failures expose contractors and property developers to substantial liability, eroding project margins through warranty claims and potential litigation.
Projects with the highest exposure
Certain construction environments amplify the financial and operational risks of hardware installation failures. High-density multi-family residential developments and large-scale hospitality projects present the highest exposure. In a 200-unit hotel project, a systemic installation error—such as using inadequate wall anchors or incorrect hinge torque across all bathrooms—can result in exponential warranty claims and unacceptable operational downtime.
Similarly, high-rise residential buildings face unique challenges due to building sway and structural settling. In these environments, rigid installations without appropriate movement allowances are highly susceptible to stress fractures. Establishing strict, documented installation protocols in these high-exposure projects is mandatory to prevent isolated mistakes from scaling into multi-million-dollar liabilities.
What to Verify Before Installation

Successful shower hardware installation begins long before the first hole is drilled. Rigorous pre-installation audits separate professional execution from high-risk guesswork. Surveyors must measure out-of-plumb walls and out-of-level floors with a maximum acceptable tolerance of 1/16 inch per 5 feet to ensure the hardware can properly support the glass panels without inducing stress.
Hardware specifications and substrate conditions
Before any hardware is mounted, installers must verify that the substrate conditions meet the exact specifications required by the hardware manufacturer. Heavy frameless glass doors demand structural backing behind the finished tile or stone. Typically, this requires the verification of 2×6 solid wood blocking or equivalent structural steel framing at all hinge and header mounting locations.
If the specified hardware dictates a maximum weight limit of 120 lbs per pair of hinges, the substrate must be capable of handling dynamic pull-out forces that exceed this static weight due to the leverage applied when the door swings. Failure to verify substrate density prior to installation forces contractors into using substandard retrofit anchors, compromising the entire enclosure.
Glass, wall, and anchor compatibility
Evaluating the compatibility between glass panels, substrate materials, and anchoring systems is a non-negotiable step. Using standard drywall anchors for heavy glass applications is a frequent cause of catastrophic failure. Assessors must verify that the anchor’s pull-out strength exceeds the dynamic load requirements.
| Anchor Type | Target Substrate | Max Load Capacity (lbs) | Recommended Application |
|---|---|---|---|
| Direct Wood Screw (3-inch) | 2×6 Wood Blocking | 150+ | Heavy frameless hinges |
| Heavy-Duty Toggle Bolt | Hollow Block / Tile | 80 – 100 | Fixed panel clamps |
| Plastic Expansion Anchor | Drywall (Unbacked) | < 20 | Not permitted for glass |
| Masonry Sleeve Anchor | Concrete / Solid Brick | 200+ | Structural headers |
Contractors must cross-reference the glass weight—typically 3.27 lbs per square foot for 1/4-inch glass and 6.54 lbs for 1/2-inch glass—with the anchor’s certified load rating to ensure absolute compatibility.
Common planning mistakes
Common planning mistakes often originate from a failure to account for architectural variations and material limitations. A frequent error is ignoring the hardware’s dimensional deductions. For instance, failing to subtract the exact 3/16-inch or 1/4-inch clearance required by specific hinges and vinyl seals before ordering the tempered glass results in panels that bind against the tile.
Another prevalent oversight is neglecting the location of embedded plumbing. Drilling into a wall without consulting structural and plumbing blueprints can lead to punctured water lines. Comprehensive planning requires overlaying the hardware mounting map with the mechanical, electrical, and plumbing (MEP) schematics.
Installation Mistakes That Cause Failures
The execution phase introduces critical vulnerabilities where slight deviations from technical specifications cause rapid system degradation. Even premium hardware will fail if subjected to improper alignment, excessive force, or inadequate environmental sealing during installation.
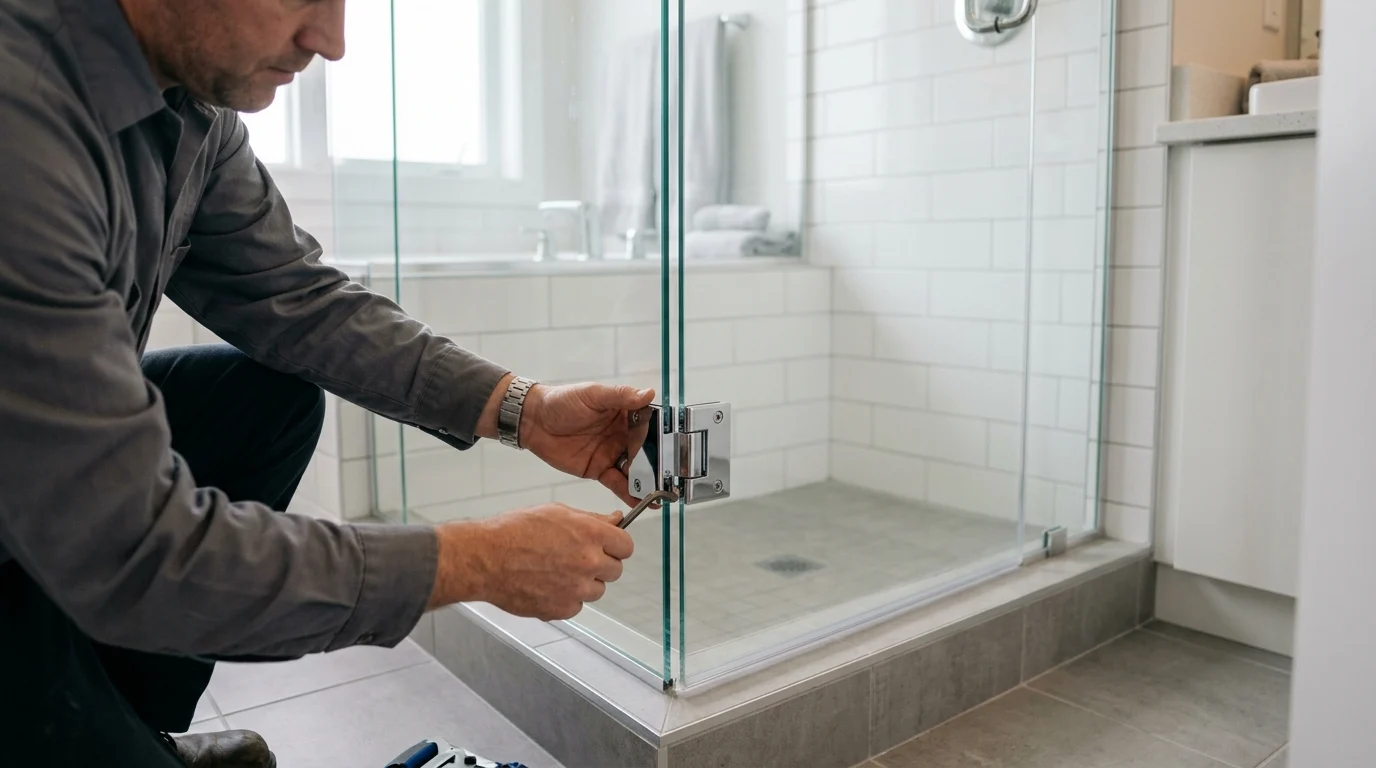
Alignment, leveling, drilling, and torque errors
Precision in alignment, leveling, and drilling dictates the longevity of shower hardware. Drilling through porcelain tile or stone without continuous water coolant degrades the substrate and creates micro-fractures that weaken the anchor point. Once the holes are prepared, torque management becomes the defining factor in hardware integrity.
Installers frequently rely on unregulated power tools, leading to over-torqued screws. Most heavy-duty brass or stainless steel shower hinges specify a maximum fastening torque of 40 to 50 inch-pounds. Exceeding this threshold strips the internal threads, crushes the protective gaskets, and applies direct, localized pressure to the glass, radically increasing the risk of spontaneous breakage.
Sealing, waterproofing, and movement allowance issues
Shower environments experience extreme fluctuations in temperature and humidity, necessitating flawless sealing and movement allowances. Installers must leave a minimum 1/8-inch expansion gap between fixed glass panels and hard tile surfaces. Hard-packing this gap with rigid materials transfers structural building shifts directly into the glass.
Waterproofing failures typically arise from the improper application of silicone sealants. Using standard acrylic caulks instead of 100% architectural-grade, mildew-resistant silicone guarantees premature degradation. Furthermore, failing to observe the mandatory 24 to 72-hour zero-moisture cure time before subjecting the enclosure to water testing washes away the sealant’s bonding agents, leading to invisible micro-leaks.
How to compare common failure points
Systematic comparison of common failure points allows project managers to implement targeted preventive measures. By analyzing defect rates across multiple installations, patterns emerge that highlight the importance of standardized procedures.
| Failure Point | Primary Cause | Typical Defect Rate Impact | Prevention Metric |
|---|---|---|---|
| Hinge Slippage | Insufficient torque / Missing gaskets | 15% – 20% | Calibrate torque wrench to 45 in-lbs |
| Glass Spontaneous Breakage | Edge damage during mounting | 5% – 8% | Maintain minimum 1/8-inch edge clearance |
| Water Leakage at Base | Inadequate silicone curing | 25% – 30% | Enforce 72-hour zero-moisture cure time |
| Handle Loosening | Omitted thread-locking fluid | 10% – 15% | Mandate medium-strength thread locker |
Tracking these metrics enables continuous improvement in installation quality and significantly reduces post-handover callback rates for contractors.
How to Evaluate Compliance and Quality Control
Quality control in shower room hardware installation is not merely a best practice; it is a strict regulatory requirement. Evaluating compliance ensures that the finished enclosure meets both local building codes and the exacting standards set by hardware manufacturers, safeguarding end-users and shielding contractors from liability.
Code, safety, and manufacturer requirements
All shower hardware and glass installations must comply with stringent safety codes. In North America, this mandates adherence to the ANSI Z97.1 and CPSC 16 CFR 1201 Category II standards for safety glazing materials. The hardware itself must be tested to support these specific glazing types without failure under impact.
Manufacturer requirements dictate the operational parameters of the hardware. For example, a manufacturer may specify that a pivot hinge is only certified for up to 100,000 open/close cycles if installed precisely plumb. Deviating from these proprietary specifications immediately voids the hardware warranty and shifts all liability to the installing contractor.
Inspection checklists and testing steps
Robust inspection checklists transform subjective quality checks into objective, measurable data. A comprehensive post-installation inspection should verify that all gaps are uniform (typically 1/16 to 1/8 inch), that door sweeps make consistent contact with the threshold without binding, and that all fasteners are torqued to specification.
Testing steps must include structural and hydrostatic evaluations. A standard field test involves applying a 50 lb static pull force to the handles and hinges to ensure zero deflection in the mounting anchors. Subsequently, a water spray test—directing water at the seals and hinges at 30 psi for a minimum of 5 minutes—verifies the integrity of the silicone and the vinyl sweeps.
Handover records and maintenance instructions
The final stage of quality control is the formal handover, which requires meticulous documentation. Handover records should include sign-offs on the substrate conditions, the torque settings applied to the hinges, and the specific brands of sealants used.
Equally important are the maintenance instructions provided to the facility manager or homeowner. These documents must clearly state the required maintenance intervals, such as inspecting hinge torque annually and replacing vinyl sweeps every 24 to 36 months. Providing abrasive-free cleaning guidelines ensures that the protective plating on premium hardware (such as matte black or brushed brass finishes) is not destroyed by harsh chemicals.
How Buyers and Contractors Can Use This Guide
A standardized installation guide serves as a strategic asset for buyers, procurement teams, and contractors. By aligning procurement specifications with installation realities, project stakeholders can reduce post-installation callback rates by up to 45%. This alignment ensures that the selected hardware not only meets the visual design intent but also performs reliably under site-specific conditions.
When to choose premium hardware or revised detailing
Buyers must understand when project conditions dictate the selection of premium hardware over standard builder-grade alternatives. In high-humidity environments like commercial steam rooms or coastal properties, standard zinc die-cast hardware will blister and corrode. In such cases, specifying 316L solid stainless steel or forged brass—which can withstand up to 1,000 hours of salt spray testing—is a necessary investment.
Revised detailing is required when substrate audits reveal inadequate blocking. Instead of risking a heavy frameless pivot door on hollow walls, contractors should pivot to a semi-frameless design or a header-supported sliding system. These structural workarounds distribute the glass weight safely across the existing framing, preventing catastrophic failure while maintaining an upscale aesthetic.
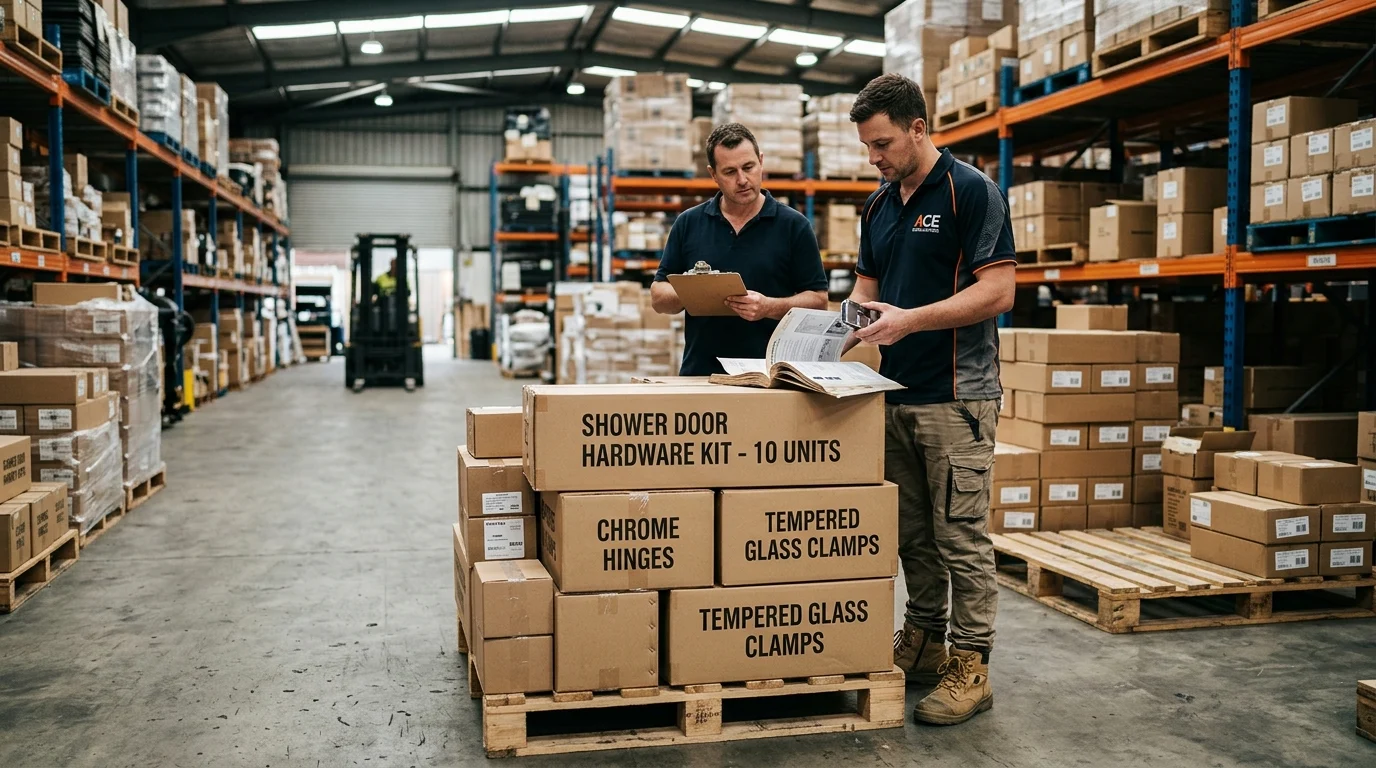
Criteria for comparing installation methods and suppliers
Procurement teams should evaluate suppliers not just on unit cost but on how their products facilitate flawless installation. Key criteria include the availability of comprehensive technical drawings, CNC glass cutout templates, and documented dynamic load testing.
When comparing suppliers, buyers should analyze the Minimum Order Quantities (MOQs) for custom finishes against lead times. A supplier offering 316L stainless hardware with an MOQ of 100 units and a 6-to-8 week lead time may be preferable to a cheaper supplier lacking certified load-bearing data. Ultimately, selecting suppliers who provide robust installation support and standardized templates dramatically accelerates the contractor’s workflow and guarantees a safer, more durable shower enclosure.
Key Takeaways
- The most important conclusions and rationale for Shower Room Hardware Installation Guide: Common Mistakes and How to Avoid Them
- Specs, compliance, and risk checks worth validating before you commit
- Practical next steps and caveats readers can apply immediately
Frequently Asked Questions
What is the most common cause of shower enclosure failure?
Installation errors are the main cause, especially poor alignment, weak anchoring, and incorrect torque on hinges or brackets.
How do I check if the wall can support shower hardware?
Verify solid backing, such as 2×6 blocking or structural steel, at every hinge and header point before drilling.
Can I use standard drywall anchors for frameless shower glass?
No. Use anchors rated for the actual load; standard drywall anchors are too weak for heavy glass doors.
Why must walls and floors be measured before installation?
Out-of-plumb walls or uneven floors can stress the glass and hardware. Check tolerances before mounting anything.
How can I reduce the risk of leaks after installation?
Align panels precisely and seal all contact points properly; even small gaps can cause water egress and moisture damage.